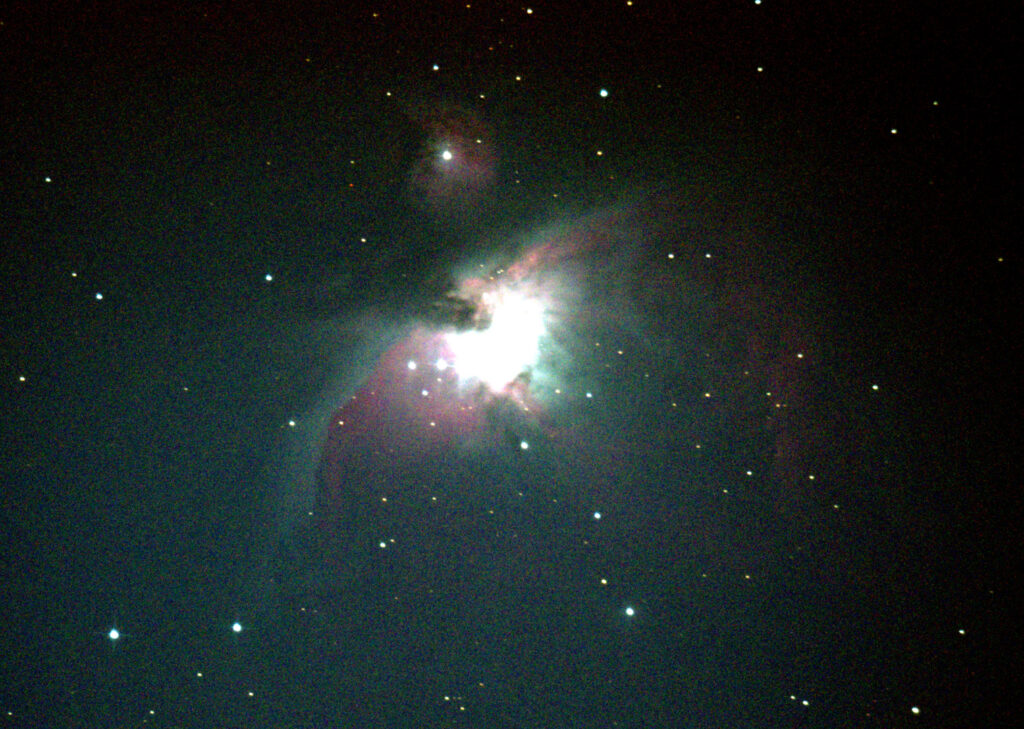
Astro-photography
Part 1: The Bug
I told myself a year ago, when I bought my telescope, that I was not going to get into astro-photography. There are lots of reasons not to get into this hobby. It is time consuming, expensive, and very challenging. Furthermore, the photos are not really marketable because NASA already took all of the photos that I will try, and they are better, and free.
Still, despite my not wanting to get into the hobby for all of the above practical reasons, I find myself drawn to it. The steep learning curve and challenge appeals to me. The robotics, computing, processing, and precision instruments all appeal to my desire for accomplishment. I’ve got the bug to try this new challenge, so I am going to write down my dive in.
Part 2: The Start
I’ve shared a couple of astronomy photos on this site before. The very first was Stargazing, where I buy a telescope, and modify it. This is my start. I wanted a nice telescope for visual astronomy. Just a way to enjoy the night sky from my suburban driveway, and observe nature in a way I had not really done before. It was not long before I was taking pictures with my phone through the eyepiece, and being disappointed with the results.
Before long, I got an adapter to use my camera in that telescope, going as far as moving the mirror so that I could get better focus with the camera. It was a lot of effort to get a 50 year old scope to work with a modern camera. These modifications proved to be worth the effort. I used that camera setup to take pictures of a Lunar Eclipse. I loved the feeling of being able to share this photo with the people in my life. Not everyone can take a picture like this, and it was appreciated. While my Eclipse photo turned out well, but I still wanted more.
Part 3: Sharing
The lunar photos are fun, but I really wanted to share what I could see with my scope. I had become adept at finding certain bright galaxies and nebulae with binoculars and telescope. Once, I even brought the scope out on a camping trip and was able to show Andromeda, Jupiter, and the rings of Saturn with some friends. But I could never take a picture that did justice.
Since getting my Fujifilm camera, I have been taking a lot of photos. Some better than others, but a steady improvement the longer I stick with it. That desire to get better, and the sense of accomplishment when I produce a great photo has been a big motivator. Chasing that feeling, with a nice raise at work, I have finally decided to throw practicality out the window, and dive into Astro.
Part 4: Getting Serious
All of the experts say to spend your astronomy budget on a high quality mount. That is exactly what I have done.
Robotic mounts for telescopes come in two flavors, more or less. Alt-Az and German equatorial. Alt-az is short for altitude-azimuth. This type of mount is much like a camera tripod. It allows the telescope to move around two axis altitude (up and down) and azimuth (left and right). This is easy to explain, and intuitive to use, but not any good for photography. These are usually used only for visual astronomy. The German equatorial mount, however is very different. It also allows movement on two axis: Declination, and Right Ascension. This is much harder to explain, but I will try.
The Right Ascension axis is aligned at an angle that matches the celestial pole. This allows the scope to rotate around the RA at the same apparent speed that the sky moves at. That speed is called the sidereal rate. The Declination axis allows movement longitudinally.
All of this complicated vocabulary to say that with an equatorial mount you can take long exposure pictures of the night sky without getting star trails.
This was a very wordy post, with no pictures. Sorry for that. I am working on learning to capture pictures with my camera and a vintage lens. There will be more to come, but for now these few will have to convey what I am trying to make.